Could your daily shower send you to the ER? Slippery thresholds and hidden trip spots send dozens of people to the ER each year. I once toured a small Sterling bath where a raised edge nearly tripped my client, I still get chills thinking about it.
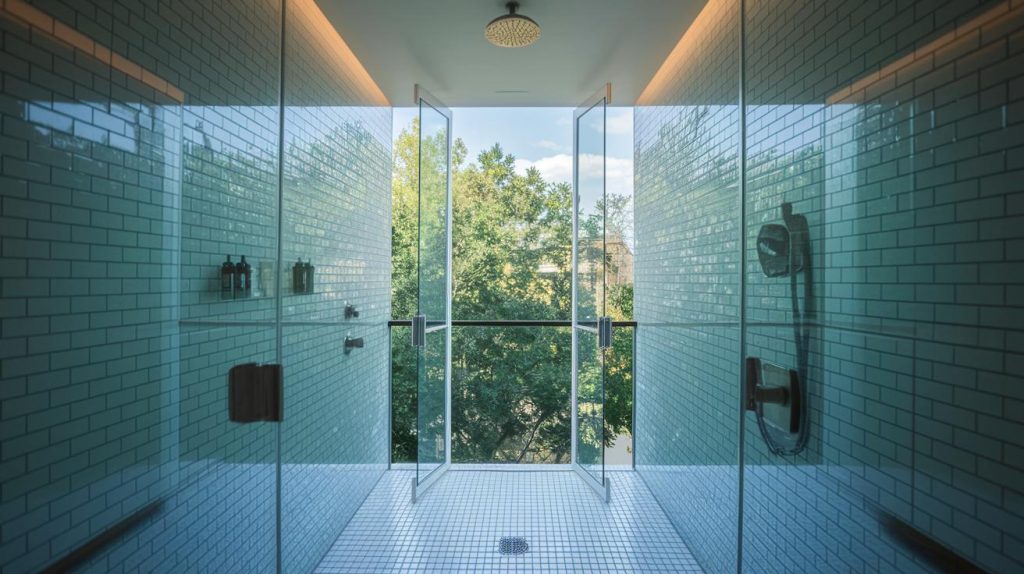
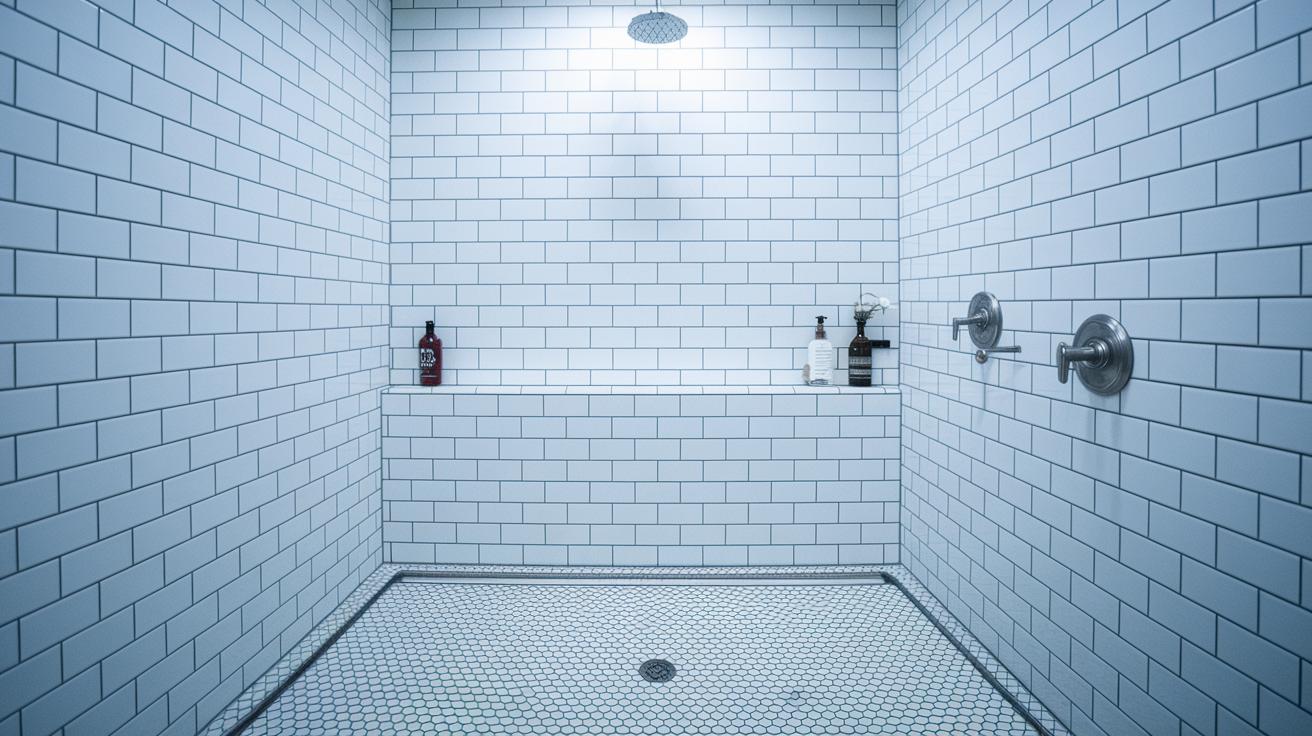
A curbless shower (a walk-in shower with no raised edge) changes everything. Imagine tile underfoot like one smooth stone slab (a sturdy stone surface), cold to the touch at first and then warmed by your morning rinse. Scratch that – you’ll feel like you’re stepping onto a single sheet of stone. No step to catch your toe. Plus, you’ll catch the soft sizzle of warm steam and the faint scent of fresh tile as you shower.
It’s safer. It’s a breeze to wipe down, too, no grout lines hiding soap scum. By the way, I love how this look fits tiny Sterling baths or spacious Great Falls bathrooms just the same.
Peace of mind included.
Next, let’s dive into seven curbless shower designs that bring comfort and style to your home.
Getting to Know Curbless Showers: Definition and Core Benefits
A curbless shower (a walk-in shower that has no raised edge) lets your tile run from the bathroom floor straight into the wet zone without a bump. You might notice the continuous tile feels cool and smooth underfoot, almost like stepping on a single stone. And it tricks your eyes, cozy Sterling baths suddenly feel twice as big. I once visited a Great Falls powder room that felt more like a spa.
So how do we keep water flowing just right? We give the floor a tiny pitch, about a quarter inch drop per foot, so water finds the drain without pooling. You won’t see a curb where moisture can hide and sneak under seals. Stripping that edge out also cuts a common trip spot, which is a win for kids and grandparents alike.
- smooth modern look
- step-in entry for all ages
- easier cleaning
- fewer leak worries
- a roomier feel
In the next sections, we’ll dig into design options, from sleek linear drains to frameless glass doors, and show how choosing the right tile pulls it all together. Then we’ll cover aging-in-place guidelines, walk you through installing that gentle slope and watertight liner, and break down material and labor costs. So you can budget with confidence.
Deep Dive Into Curbless Shower Benefits: Accessibility, Aesthetics & Safety
We’ve talked about how curbless showers remove high steps and give your bathroom a sleek look. Now we’re diving into the rules, water flow and permits.
Did you know that in some towns the shower threshold can’t exceed 1/4 inch if the door swings in? Really. In many places local codes stick close to ADA guidelines.
Here are the common rules:
- Threshold height: no more than 1/2 inch above your finished floor.
- Floor slope: 1/4 inch per foot (2%) guiding water toward the drain.
- Clear floor space: at least 30 inches by 60 inches so you have room to step in and turn.
- Non-slip surfaces: like slip-resistant tile (tiles with texture) or textured concrete.
Without a curb to slow it, water can spread fast if the drain clogs. A simple hair strainer (a tiny net for catching hair) does wonders. Every few years check the slope with a level. Spot any pooling? Grab a plumber’s snake or call for help.
Permit rules differ by county. You usually need a plumbing permit to move drains and a building permit to change the shower footprint. You’ll send in a plan that shows door swings, slopes and drain placement. Inspections happen at rough-in and again when the finish is in place. Some HOA or co-op boards ask for a design review too, which can add two to four weeks. By the way, I once helped my Sterling neighbor wait out that extra review, patience really pays off.
Curbless Shower Design Options: Drains, Flooring & Enclosures
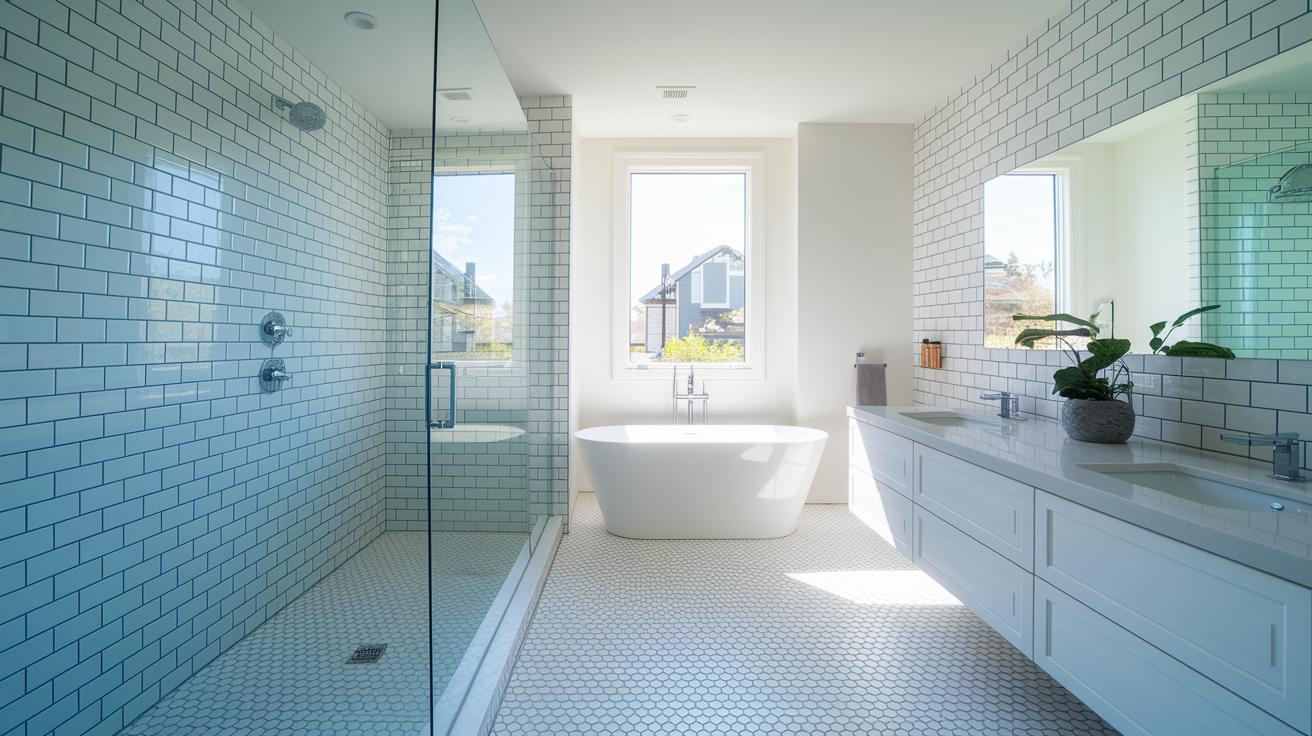
A linear drain curbless shower feels like one smooth plane, with water sliding neatly toward a slim slot. We set the floor to drop about ¼″ per foot toward the drain to meet slope rules for drainage. You might hear the faint hum of power tools as tiles (hard ceramic pieces) click into place. Have you ever noticed how large-format stone looks under that thin slot? It’s almost invisible.
Next, a point drain curbless shower uses a center drain and a four-way pitch, each side drops about ¼″ per foot, to guide water gently to the middle. It’s perfect for small-format or patterned tile (tiny ceramic squares) that draw your eye to the center. Scratch that…tile-insert drains tuck the drain under the same tile you laid across the floor. Discrete. Seamless. They can even vanish beneath mosaic floors or behind a short glass block wall.
| Drain Type | Slope Requirement | Aesthetic Impact |
|---|---|---|
| Linear Drain | ¼″ per foot one-way | Sleek slot under large-format tile |
| Point Drain | ¼″ per foot from all sides | Centers water flow; great with varied tile |
| Tile-Insert Drain | ¼″ per foot one- or four-way | Hidden under tile; ultra-clean look |
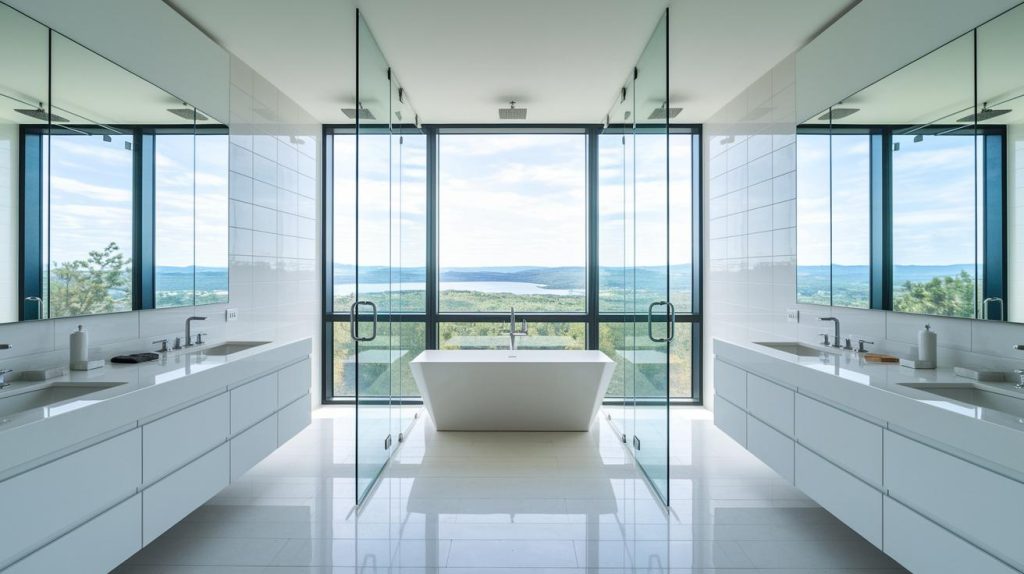
Enclosures can be a full frameless glass panel wall, for that clear glass shower door (https://services.elegantkitchenbath.com/?p=), or a partial glass setup that traps steam but keeps the space open. A flush shower floor concept ties it all together: tile (slippery when wet but oh-so-modern) flows right out to the room. Cleanup’s a breeze. Just double-check that your slope still guides every drop of water to the drain, no standing puddles allowed.
Advanced ADA Accessibility Features
We already covered basic slope and threshold rules. Now let’s explore four upgrades that turn your curbless shower from simply compliant into genuinely user-friendly.
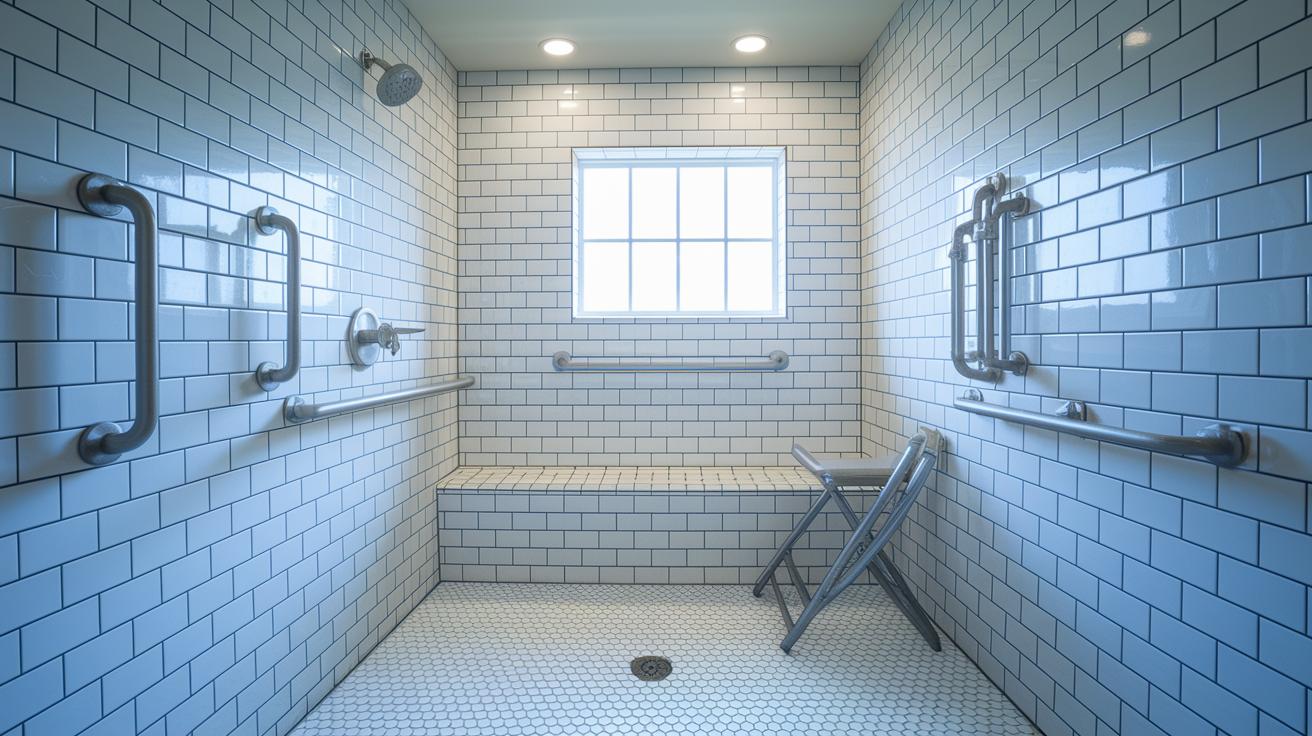
Grab bars (sturdy metal handles) should sit 33 to 36 inches above the shower floor (measured from the center). Mount them horizontally on solid backing – think a metal support plate hidden under your tile. You want them to hold your full weight.
Have you ever felt the cool touch of brushed nickel against your palm? That finish matches your faucet and stands the test of time.
Fold-down seats need to lock tight when you sit, then fold up flush when you’re done. Um, I like teak or waterproof walnut (hardy wood with warm color) because they age nicely. Picture a slim teak bench that folds up, leaving behind the faint scent of wood and keeping your shower open. Really opens the space.
So, position controls within a 48-inch vertical plane so anyone can reach them without bending or stretching. Cluster the valves and levers at a steady height – just below eye level – for quick tweaks. Matte black or polished chrome thermostatic controls feel smooth under your fingertips and stay fresh over time.
By the way, we love when the support brackets hide behind a tile niche for a sleek look. Then, corrosion-resistant screws beneath each grab bar flange stand up to moisture. Next, choose grout and tile shades that won’t date – soft gray or sand keeps the style fresh.
- Conceal seat brackets behind a continuous tile niche for a sleek look
- Use corrosion-resistant mounting hardware beneath grab bar flanges
- Pick neutral grout and tile shades that won’t date – think soft gray or sand
Installing a Curbless Shower: Key Steps from Prep to Finish
- Subfloor prep & blocking
We start by tracing the shower outline on the subfloor (the wood layer under your floor). You’ll notice the soft hum of the saw and a light sawdust scent as we make the cut. Then we add 2-by-4 blocking (wood supports) between the floor joists (the main beams) so the base sits on a solid, level frame. - Base placement & adhesion
Next, choose a TruDEK pre-sloped base (a ready-made, angled floor) or a low-profile pan like a Schluter-KERDI shower pan or one of the Wedi shower tray solutions (a waterproof tray). Dry-fit it to check drain alignment. Spread construction adhesive (a heavy-duty glue) on the joists and blocking, set the base down, then fasten it with screws into the wood supports. - Cement board installation
Lay 1/4-inch cement board (water-resistant floor backer) across the bathroom floor and 1/2-inch board on the shower walls. Butt edges tightly like puzzle pieces. Screw the boards every eight inches into the blocking and studs so nothing shifts later. - Caulking joints
Run a bead of latex caulk (paintable sealant) along all seams and screw heads in the shower area. This small step stops gaps and helps the waterproofing membrane stick without peeling off. Trust me, you don’t want any sneaky leaks here. - Membrane waterproofing
Cover the corners, joints, and the shower floor with a Schluter-KERDI membrane (a waterproof sheet) or a liquid-applied system like Tank-10. Apply two coats, brushing in extra attention where the wall meets the floor. You’ll feel a bit like painting, but this paint keeps water out. - Drain installation
Install the drain per the manufacturer’s directions, whether it’s built into the Schluter-KERDI pan or a Wedi channel. Seal around the flange (the flat lip) with your waterproofing membrane. A good seal here means no water escapes under your floor. - Tile setting & slope creation
Back-butter each tile with thinset (tile mortar) so it grips the base evenly. Create a gentle slope of a quarter inch per foot toward the drain. This angle makes water flow right off the shower floor, so you won’t see puddles at the entrance. - Grouting & leak testing
Once the grout cures (dries firm), do a flood test. Dam the drain and let a few inches of water stand for 30 minutes. Check for any seepage around the base or walls. This final check gives you peace of mind.
Many homeowners tackle a threshold-free shower themselves, but hiring a pro can save time and avoid costly water damage down the road.
Shower Bases & Waterproofing Systems
Installation Note
Have you ever sketched out an on-site concrete bed? If you prefer a concrete bed or a custom pre-sloped liner (a built-in sloped shower pan), you’ll still use the same slope rules, about a quarter-inch per foot so water drains right. Next, build your mortar bed (a mix of sand and cement) over blocking. You might hear the soft hum of power tools and feel the cool touch of the mortar under your fingers.
By the way, this is the same method we use when setting tile in a cozy Sterling bathroom. Just stick to standard tile-setting practice and you’re all set.
Peace of mind included.
Curbless Shower Cost Guide: Materials, Labor & Total Investment
Materials can sneak up on you. A prefabricated shower pan (ready-made base) might start around $200 and climb to $800 for a fancier model. Linear drains cost about $150 to $600, depending on how long they are and what finish you pick. Waterproofing membranes run $50 to $200 – they feel a bit like thick paint for floors.
And um, don’t forget tile (from $2 to $20 per square foot) plus thinset and grout (another $5 to $10 per square foot in materials). By the way, I once helped a friend in Sterling pick a cool mosaic niche that added extra cost but so much charm.
Labor often takes the biggest slice of the pie. Most plumbers and tile pros in Northern Virginia charge between $800 and $1,500 for a curbless shower install of typical size. Adding a built-in bench or inset shelf tacks on roughly $200 to $500 more. Moving a drain or shoring up floor joists can add a few hundred dollars, too. You’ll hear the soft scrape of trowels and the tape measure clicking as your team works.
Permit fees here usually run $50 to $200 for rough-in and final inspections. Local building codes might call for specific drain placement or slope rules – those little rules can tip your budget one way or the other. If you live in a co-op or HOA, you may need extra time (and maybe fees) for a design review. Plan an extra week or two, so you’re not left sitting around when it’s time to tile.
Peace of mind included.
Maintaining Your Curbless Shower: Cleaning, Leak Prevention & Mold Control
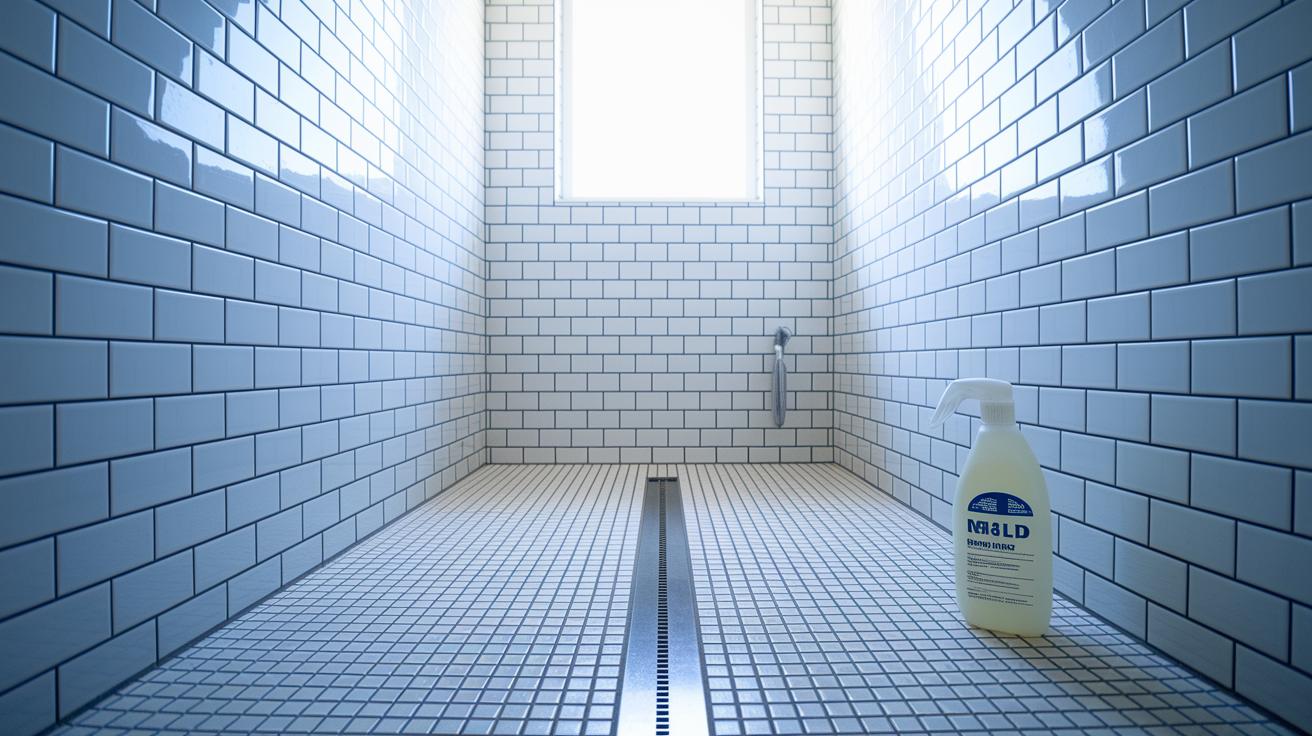
Have you noticed soap scum building up on the tile or that faint smell of minerals on the glass? A quick, daily wipe-down keeps your shower looking and feeling fresh. After each shower, grab a soft cloth or squeegee and glide it over the walls and floor. Use a mild, pH-neutral cleaner (safe for waterproof membranes (a thin protective layer)) so you won’t harm the shower pan or the grout seal (the gap filler). You’ll love how few drips stay behind and that crisp, just-clean feeling every time you step in.
Once a month, let’s dive deeper into grout care. Mix a gentle tile cleaner with warm water and brush along grout lines (the gap filler), especially near the linear drain (a long, narrow channel). You might hear the faint rush of water as you clear hair and debris from the drain grate. That simple step helps prevent leaks, no more slow drips or little puddles at the doorway. Rinse well and let the floor air-dry before your next shower.
Every one to two years, apply an epoxy grout (a tough, water-resistant filler) or sealant to keep joints strong against moisture. This yearly touch-up locks out mold and mildew, sealing tiny cracks and helping your shower stay fresh for years. Peace of mind included.
Curbless Shower FAQs: Answers to Common Questions
Thinking about installing a curbless shower in your Sterling home? You’re not alone. I’ve seen these sleek showers bring a bit of spa magic to everyday routines, and they’re easier to keep clean than you might think.
• Slope Rule: Pour a quarter inch per foot (a slight slope that guides water). You’ll barely notice the gentle incline, but it sends water straight to the drain without an extra waterproofing layer (a seal to stop leaks).
• Hire pros to avoid rework. I once tried a DIY slope, scratch that. When the sealant failed I spotted leaks, and fixing those got pricey. Trust a skilled installer so you don’t end up with a soggy floor.
• ADA tip: Reserve a 36-inch clear path. Add sturdy grab bars, and toss in a fold-down seat (a bench that folds flat when you’re done). It makes real barrier-free bathing simple and safe.
• Long-term value: Barrier-free design wipes clean in seconds, just a quick swipe with a cloth and you’ll catch that fresh tile smell. Buyers in Great Falls and beyond love the mix of style and easy upkeep, so it pays you back.
Peace of mind included.
Final Words
We’ve explored how a curbless shower removes thresholds to create a sleek, step-free space and learned how it boosts safety, simplifies cleaning, and elevates style.
We also covered drain choices, tile-insert and linear drain options, slope needs, and ADA guidelines. The install steps and cost breakdown put you in charge.
Maintenance hacks, waterproofing tips, and FAQs wrap up your design plan. Your next at-home spa moment in a curbless shower is just a barrier-free step away, enjoy every drop!
FAQ
What are some curbless shower design ideas?
Curbless shower design ideas include frameless glass panels, built-in benches, and compact layouts for small bathrooms, letting your floor tile flow seamlessly into the shower for an open, airy feel.
How does a curbless shower pan or system work?
A curbless shower pan or system uses a pre-sloped base or waterproof liner under tile plus a slight ¼″-per-foot pitch to guide water straight to the drain, creating a smooth, low-threshold entry.
How do I install a curbless shower and meet code depth requirements?
A curbless shower installation uses a pan about 1½″ deep to form the ¼″-per-foot slope, reinforced subfloor blocking, and a threshold kept under ½″ tall to satisfy most building and ADA rules.
Do curbless showers leak or get water everywhere?
Curbless showers leak or overflow only if slope or waterproofing fails. With a proper ¼″-per-foot pitch, sealed membrane systems, and clear drains, water stays directed to the drain, not across the floor.
Are curbless showers better and what myths should I know?
Curbless showers offer safer, sleeker bathing areas and easier cleaning, but they won’t always flood floors, cost a fortune, or limit tile choices—those common myths often confuse homeowners considering barrier-free showers.